How to Finger Knit a Scarf


Supplies: Yarn (preferably thick), scissors, a pen or pencil (if you think you will want a break), and
your hands.
 Step 1: Measure your arm’s length of yarn. Hold your hand open towards you, and separate your fingers. Put the end nearest to the ball between your thumb and index finger, with the ball behind your hand.
Step 1: Measure your arm’s length of yarn. Hold your hand open towards you, and separate your fingers. Put the end nearest to the ball between your thumb and index finger, with the ball behind your hand.
 Step 2: Put the string you’ve already rolled out in front of your index finger. Then, string more behind your 3rd finger.
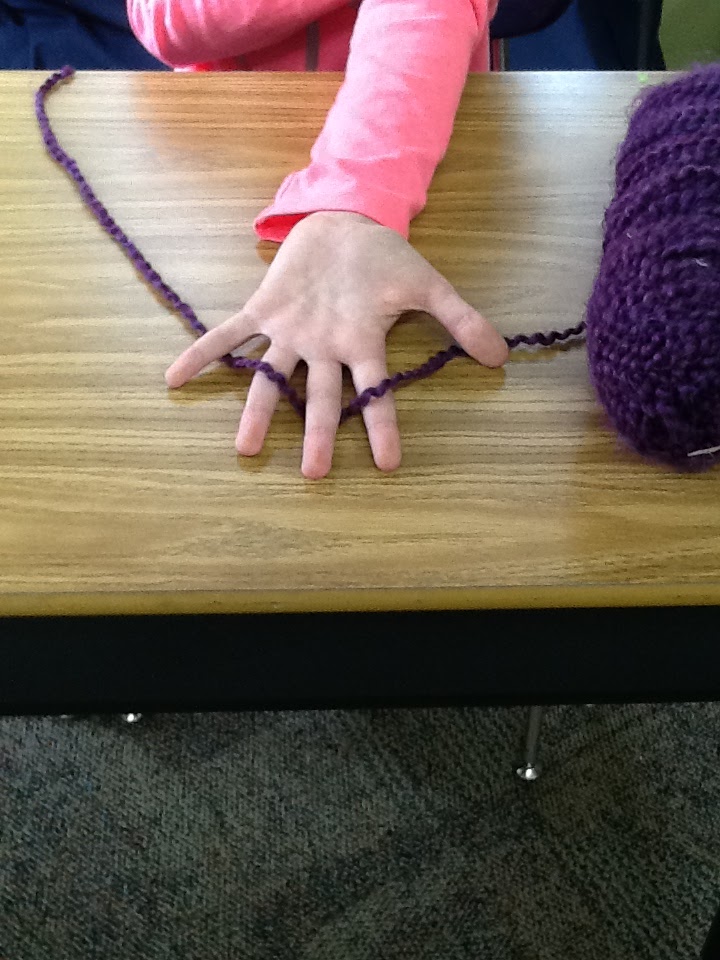
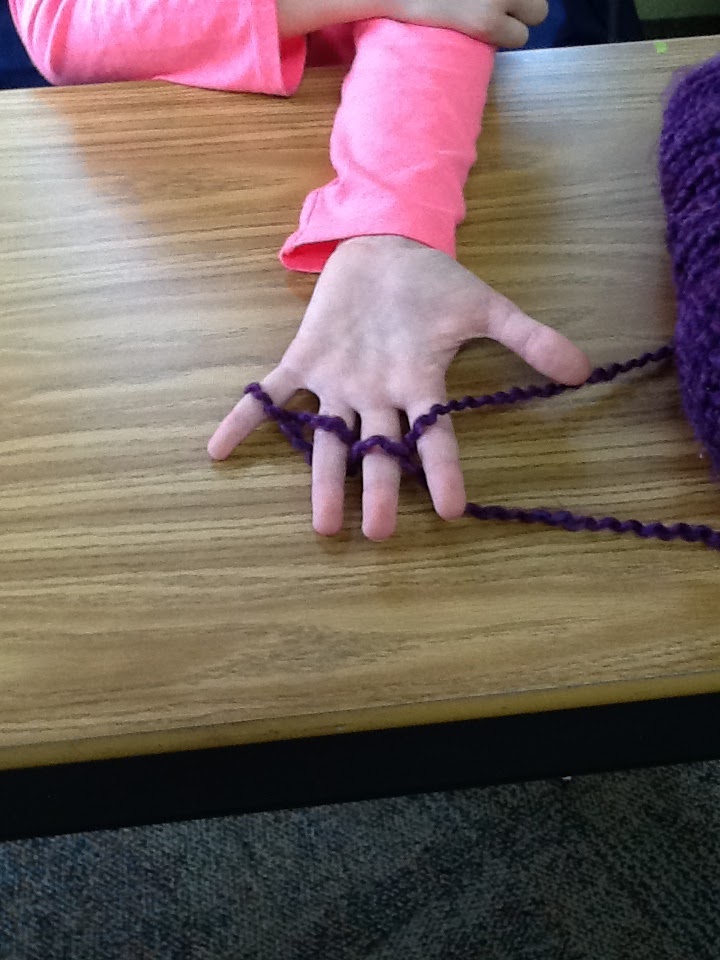
Step 3: After that, you weave the string behind your ring finger. To complete the zigzag pattern you are making, put some more string behind your pinkie finger. This is what it should look like.
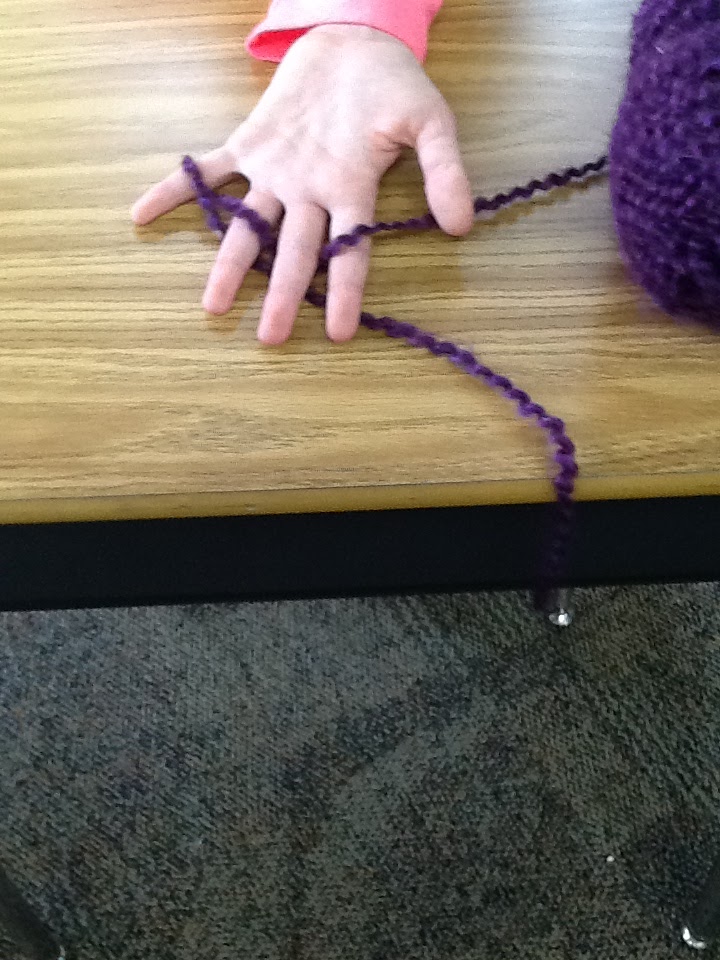
Step 4: Now, we’re going to go back around, basically doing what you just did, backwards. Loop the yarn around, and in front of your pinkie finger. Then, string it behind your ring finger.
Step 5: To complete the zigzag pattern again, weave the yarn in front of your 3rd finger, and behind your index finger. You have now completed one row!
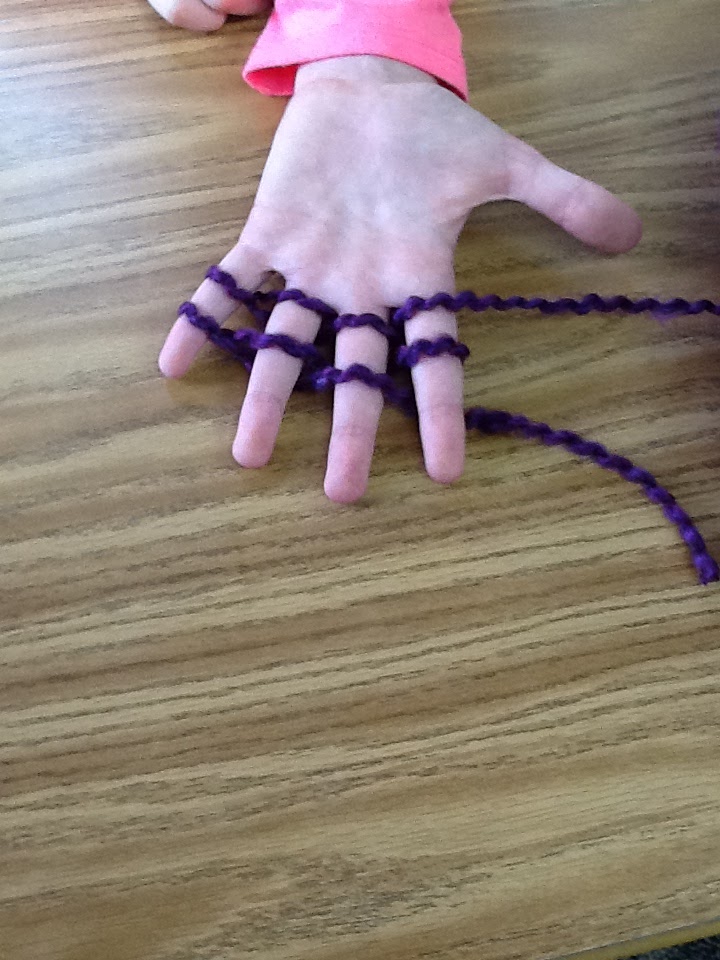 Step 6: Now repeat steps 2-5. You now have two rows of yarn.
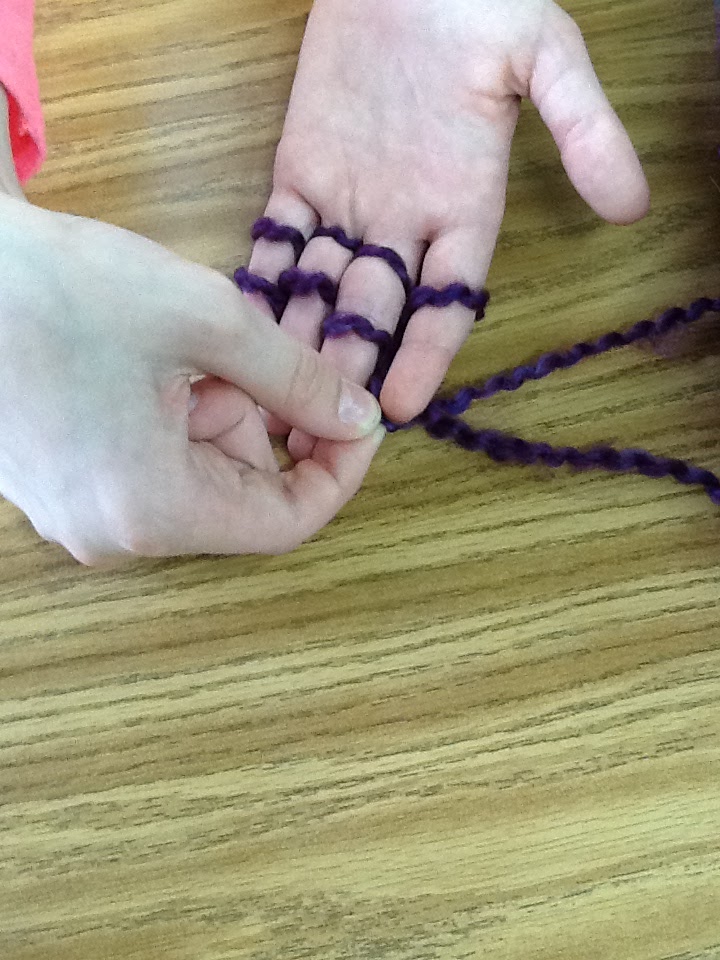
Step 7: We are going to start the scarf now! Using your hand without yarn on it, take the bottom loop of yarn on your index finger, and pull it over your finger. Repeat this with all 4 fingers.
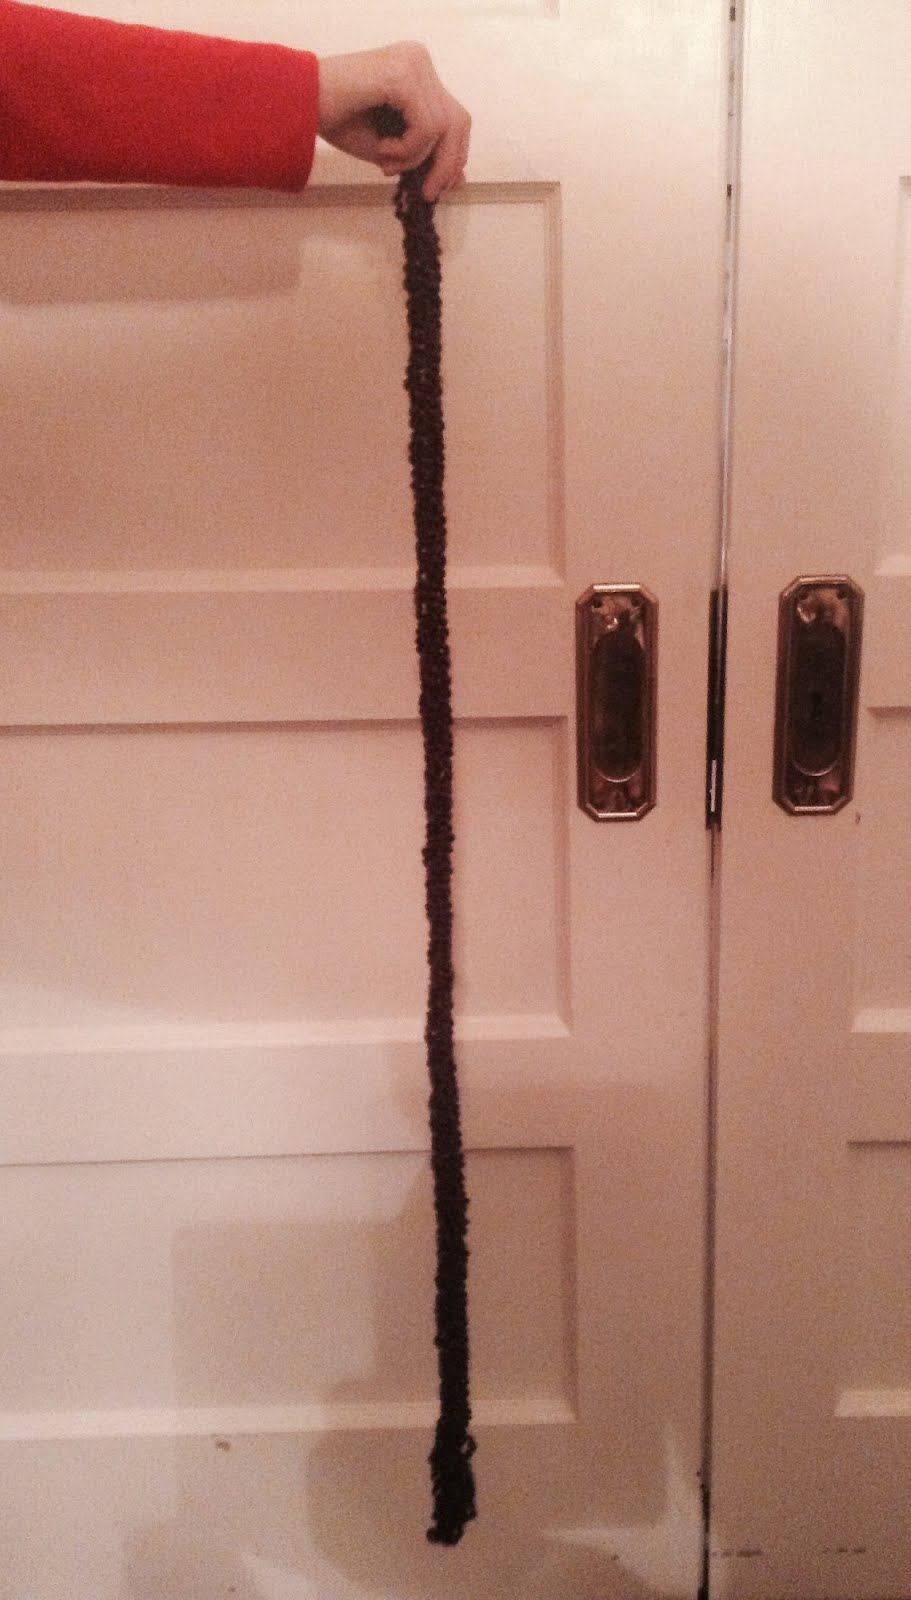
Step 8: Now, keep repeating steps 6-7 until you are satisfied with the length of your scarf.

Step 9: Now it’s time to tie it off. Take the loop off your index finger, and put it on your 3rd finger.


 Step 11: Keep moving the loop over a finger, and pulling another off until you just have one loop on your pinkie.
Step 12: Cut the yarn off from the ball.


Step 14: Weave the string of yarn through the scarf, until it doesn’t look like the string is there.


P.S. If you want to stop in the middle, put each loop on a pencil or pen. When you come back, just put it back on your fingers!
By Ella Gammel
Thank you for reading my tutorial!
I got the pictures of: the scissors (found under supplies) http://www2.fiskars.com/Kids-Activities-School/Products/Kids-Scissors/Blunt-tip-Kids-Scissors-5-ages-4#.UugpnmQo7os, the yarn (found under supplies)http://shop.hobbylobby.com/products/purple-haze-homespun-thick-and-quick-yarn-556225/, the hand (found under step one) http://www.ucl.ac.uk/news/news-articles/1006/10061602, and the pencil (found under supplies) http://www.photo-dictionary.com/phrase/459/pencil.html.
No comments:
Post a Comment