Sunday, February 9, 2014
Tutorials...
The fifth grade class has been busy writing tutorials about one of their passions as part of an explanatory writing project. We started by examining other tutorials to decide what made one better than another, what aspects were attractive to us, which ones seemed clear or confusing. Afterwards, we spent time in class, and at home, taking pictures that would enhance our directions. Finally, we put all the pieces together and created our very own tutorials. We hope you enjoy reading them as much as we enjoyed putting them together!
Friday, February 7, 2014
Fur Elise on the Piano
Hello! Today i am going to teach you how to play a little bit of Fur Elise by Beethoven on the piano.
To start of you should know the names of the keys of the piano. (Sharps and Flats included.)
You should also know how your fingers are labeled in piano. So if i say play an E with your 5th finger in your right hand you would know that it is your right pinky. A bench is better, but if you don’t have one you can use a chair. Here we go!!!
Step #1 Lay your hands on the keys with the tips of your fingers slightly curved.
Step #2 Put your pinky on E an octave above C with your right hand.
Step #3 Play with your right hand still on E, E,D#,E,D#,E,B,D,C,A. (5,4,5,4,5,3,4,2,1)
Ste #4 Put your left hand on A with your 5th finger. Keep the A in your right hand ringing, and then play in the left hand, A,E,A. (5,2,1)

Step #6 Keep the B in the right hand ringing, and in the left hand play E, E(up an octave), G#. (5,1,2)
Step #7 Move your right hand down to E and play E,G#,A,B. (1,3,4,5.)
Step #8 Play in your left hand again, A,E,A. (5,2,1.)
Step #9 Now repeat steps 3-6.
Step #10 Instead of playing steps 7-8, play in the right hand, E, (highC)B,A.
Step #11 On the ring of the A in the right hand, with your left hand play A and E. In your right hand at the same time play A and C.
Tack Up a Pony
How to Tack up a Pony:
How to Tack up A Pony
1st Step- Make sure you have on your helmet, boots, half chaps if you have any, hair up in a ponytail, because it is easier to see, riding pants/ jeans, and a shirt.

2nd Step-Go get you pony/ horse out of the field, or out of his stall.


4th Step- Take his blanket off if the pony has one on.

5th Step- Get your first brush and brush him all over.
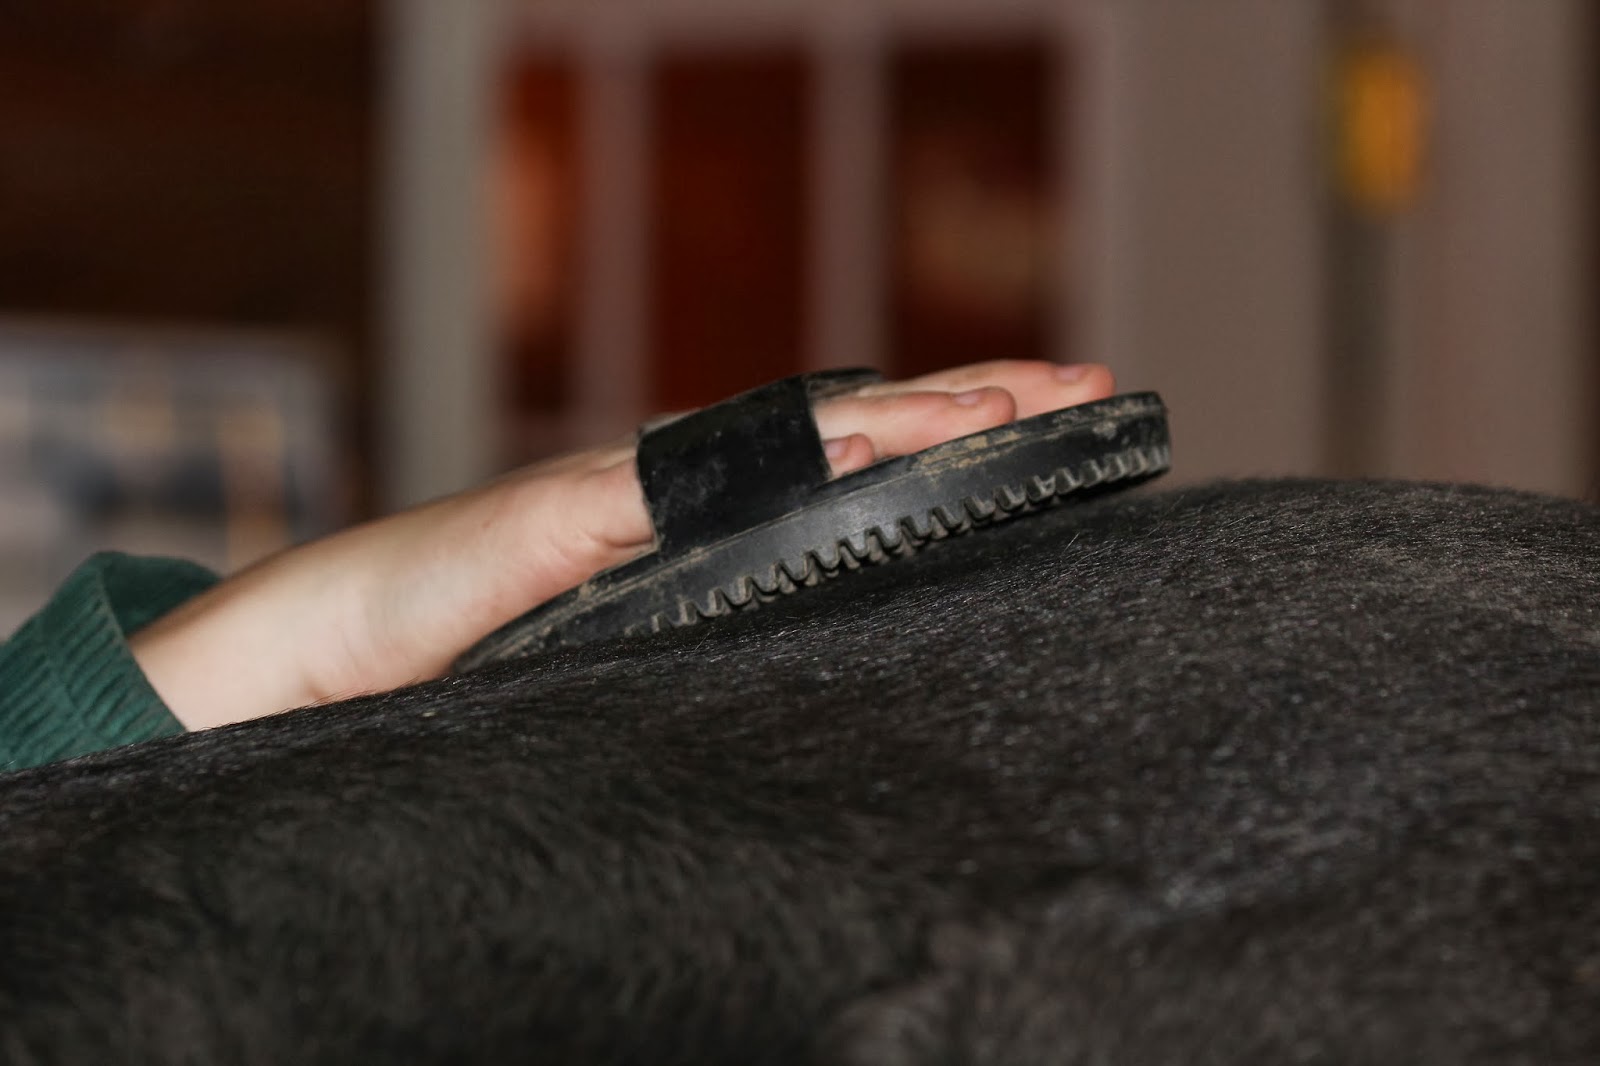
6th Step- Get another brush and brush him again all over

7th Step- Next, get a softer brush and brush their legs off. Also pick the pony’s hooves.
 8th Step- Now you can start taking up. Get polo wraps if needed, and put the right one on clockwise. put the left one on counter clockwise.
7th Step- Next, get a softer brush and brush their legs off. Also pick the pony’s hooves.

9th Step- Get a Martin Gail and put it on the pony, if the pony needs one. With the long side closest to the stomach.
10th Step- Get a saddle pad and any other pad needed. Put the on the ponies back right behind the withers.

12th Step-Get your girth and start on the right side and put it on tight only letting one finger through. Make sure to hook it to the martingale.

13th Step- Now last but not least get you bridle and put the bit through the ponies mouth. Buckle all the buckles and put the martin Gail through the mouth buckle. put the reins over his head and get on.


Thanks for reading my tutorial about how to tack up a pony.
How to Jump a Horse or Pony

How to Jump a Horse or Pony
By:Sarah and Skip
Warning:
There is a possibility that you may get hurt or die. Please read the following to be safer.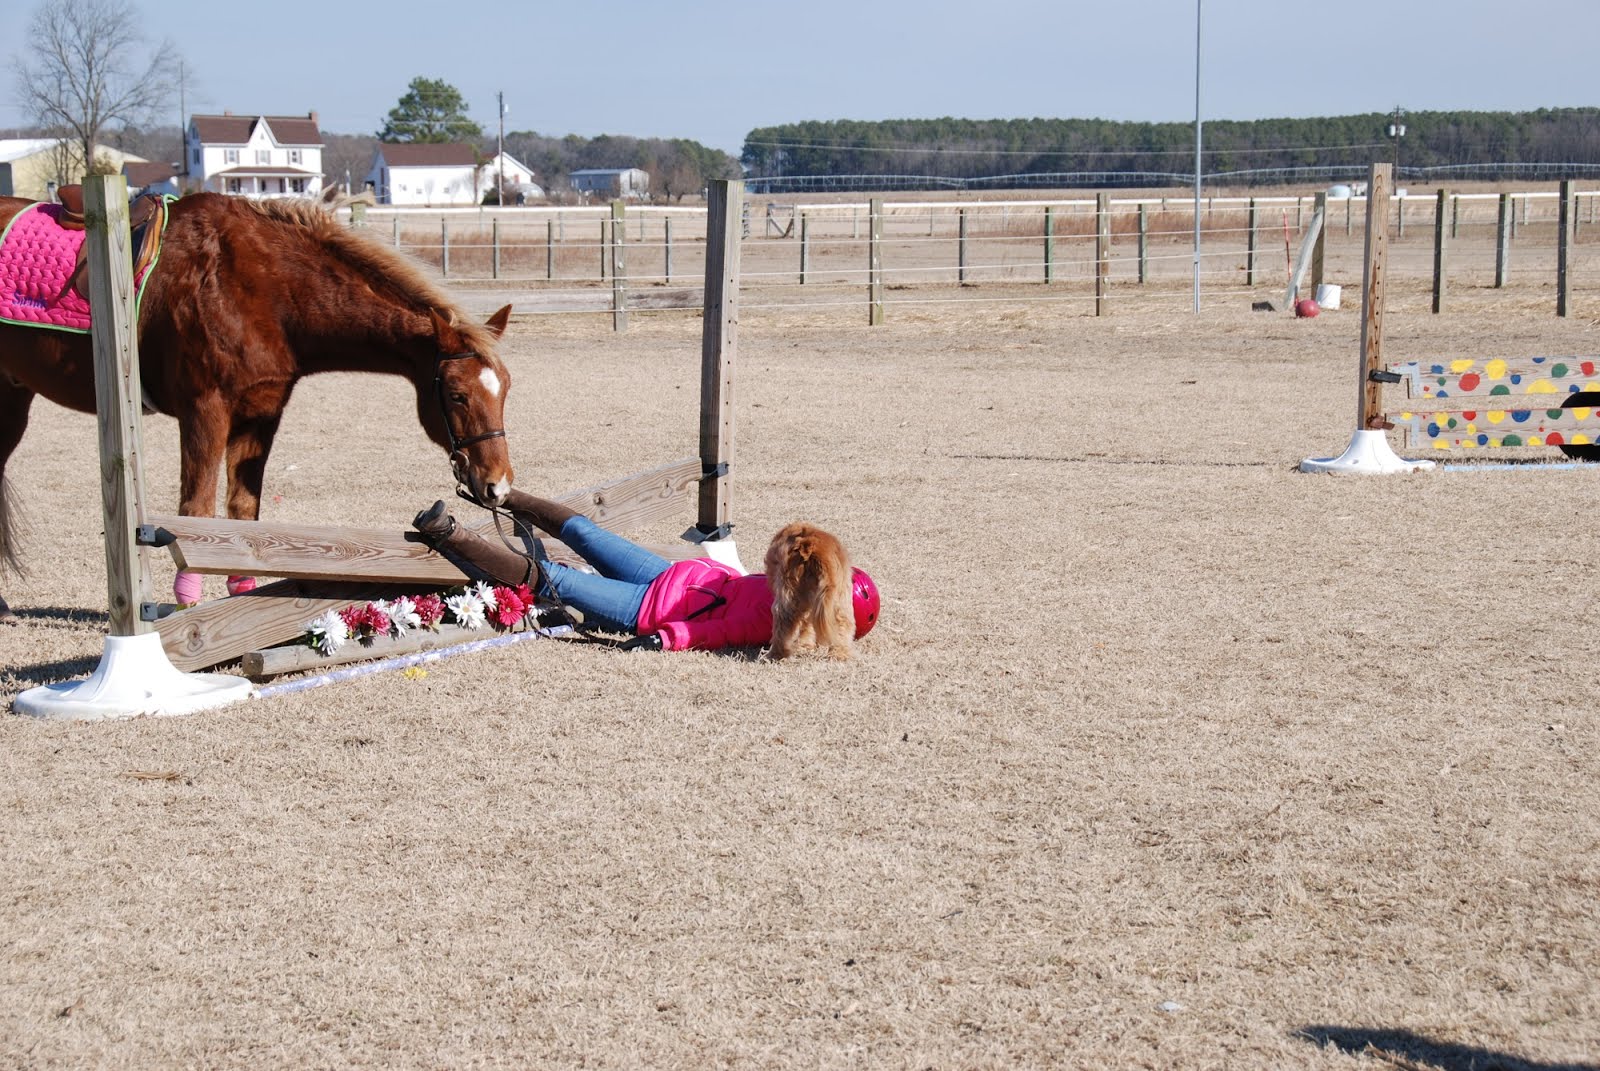
Step 1: Rules of Safety
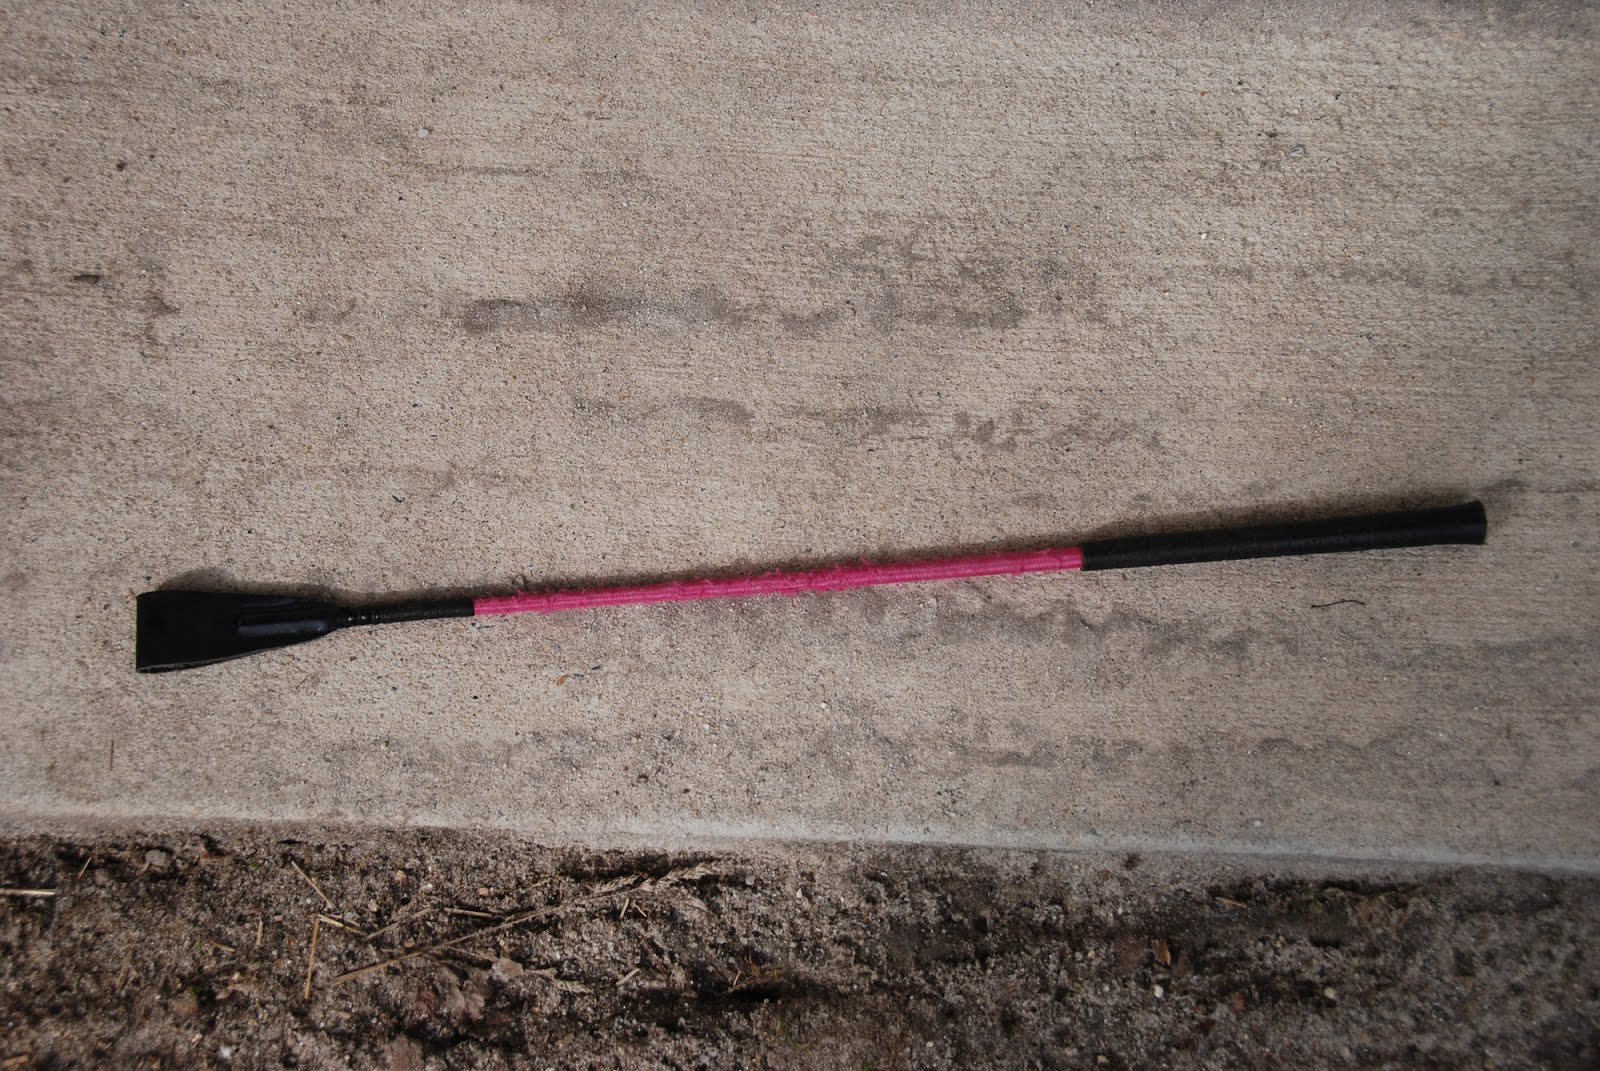
1.) Make sure you have the proper equipment for example riding boots ( not fashion boots you buy the boots at a tack shop not shoedazzle.com). You will also need jeans you also might want half chaps. ( you don’t need them but they stop the jeans from coming up and rubbing). If you have a horse/ pony that is lazy, then you probably will have a crop, bat, magic stick, or encouragement ( these are all ways of say crop also a crop is not a framing crop bat does not mean the animal or a baseball bat).
2.)If you are jumping you should have your trainer with you unless it is alright with you jumping without them, but for safety you should always have someone with you when you are riding.
3.)If this is your first time jumping you should probably ride a lesson horse/pony, but if you have a horse/pony that you are comfortable with then you should ride them. If you are not sure who to ride ask your trainer.
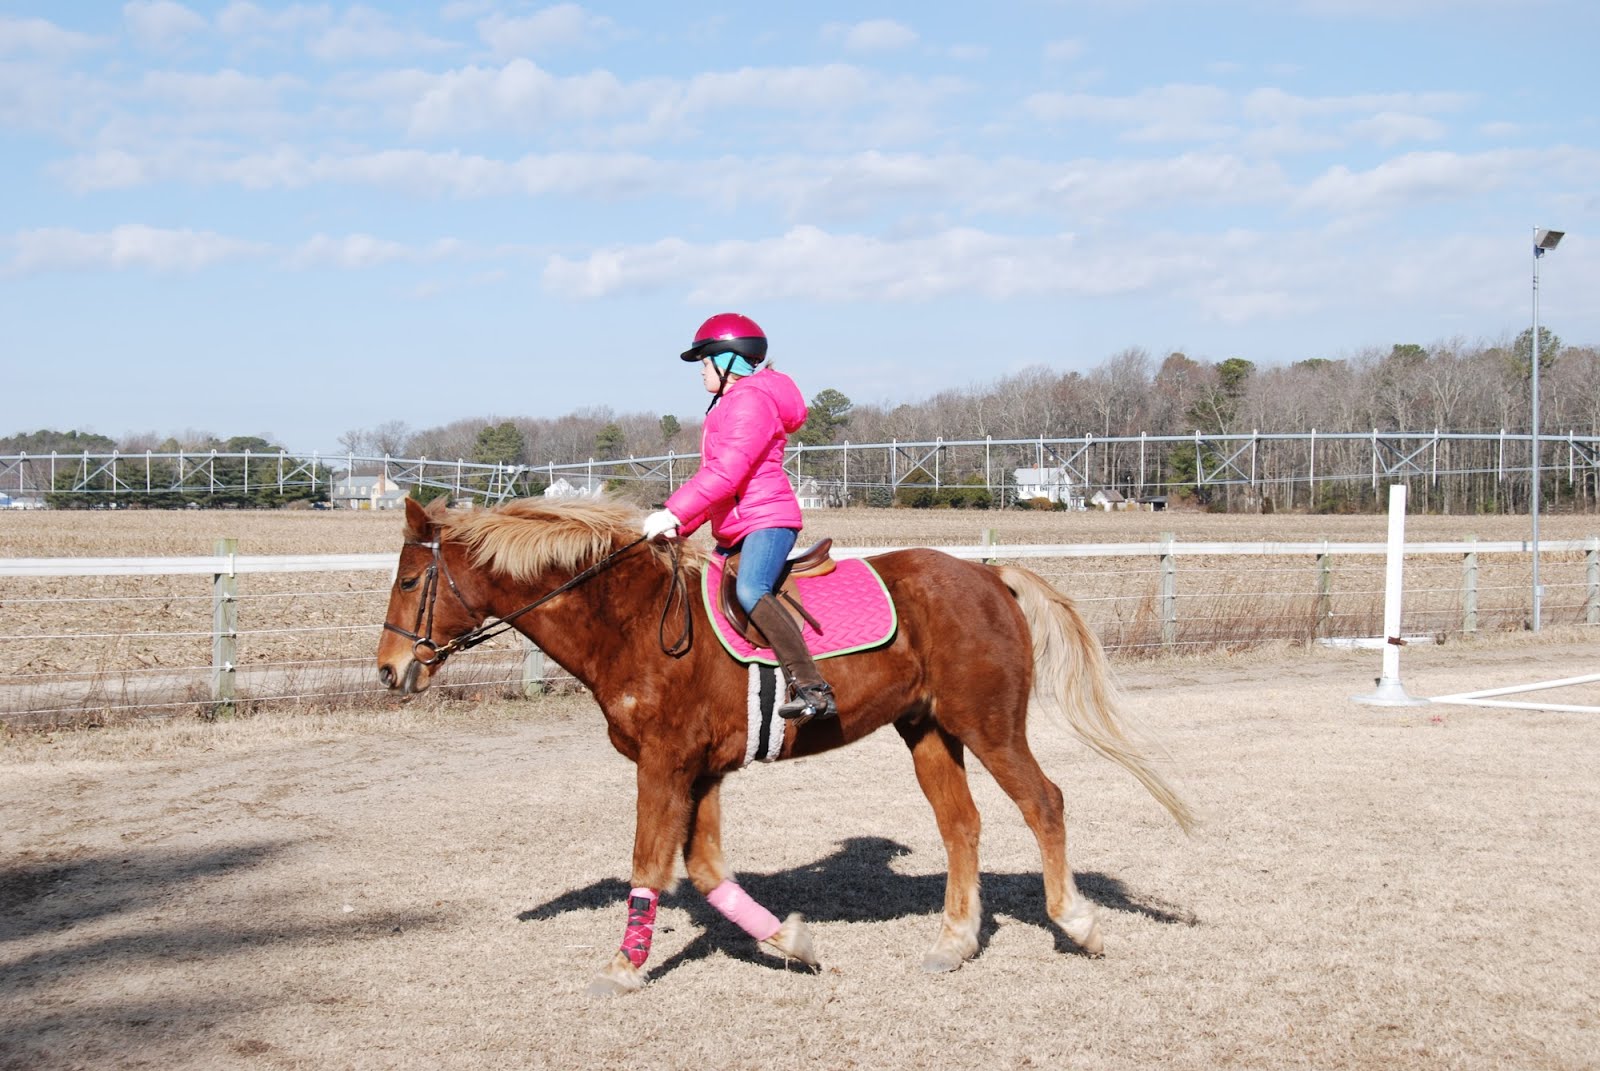
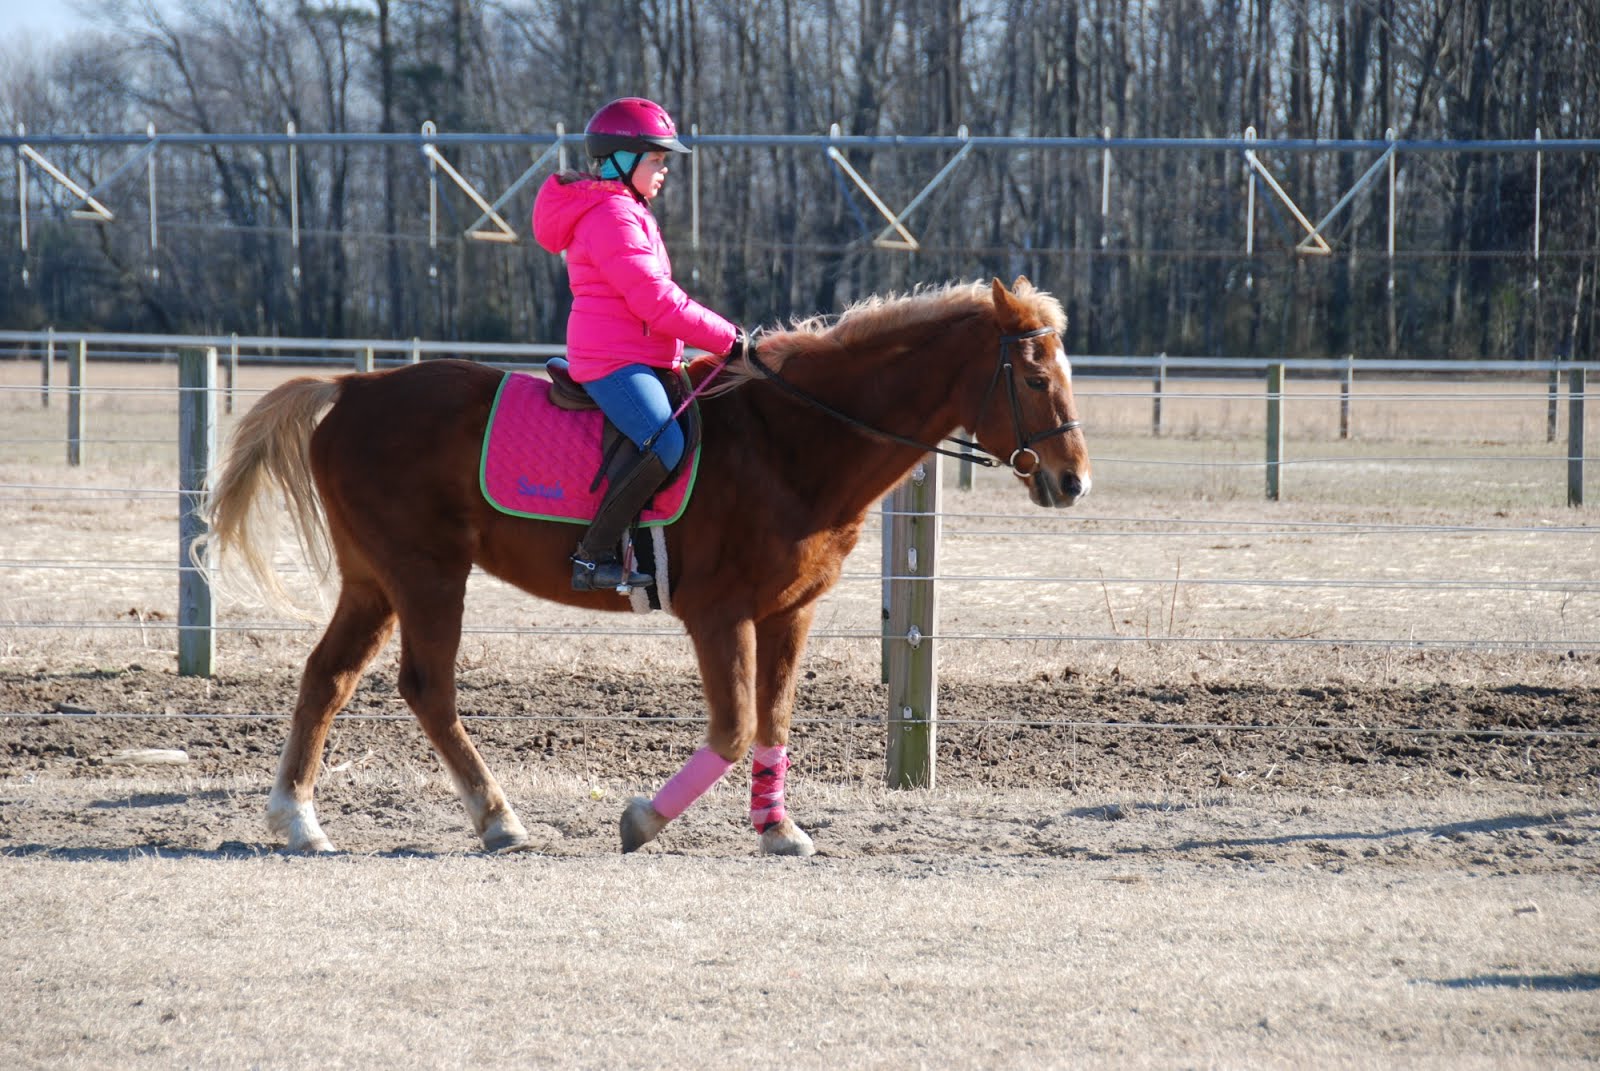 4.) Make sure your horse is warmed up before you start jumping. For example you should walk, trot, and canter. If you horse/ pony is not really listening then try the sitting trot and extended trot.You could try curling.
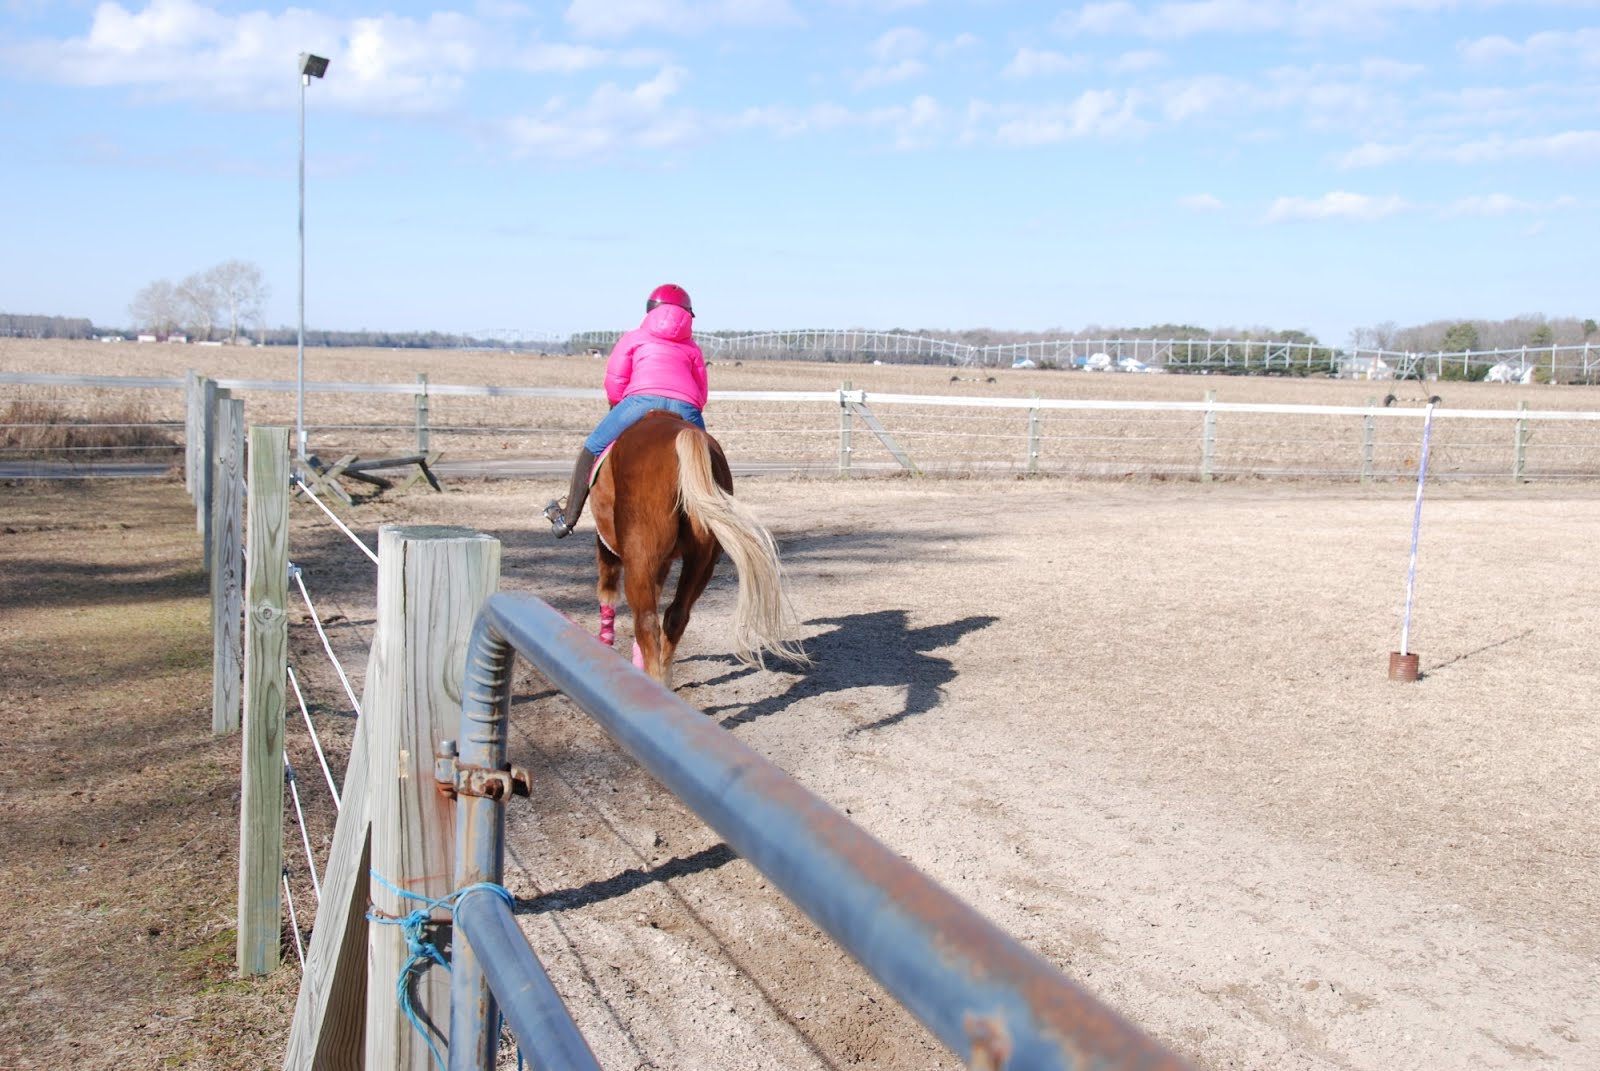
Step 2: Position
1.) When you are going over the jump you should be in two point. Your two point position is your are leaning forward with your feet forward . You do not want your weight relying on the horses neck their center of gravity is their weithers .Your head has to be lup if you are not looking your will run into stuff.
Step 3: Approach
 1.)For the approach you should be looking at the jump. I recommend a diagonal line because that is what I have the picture of. This is a diagonal signal.
2.)For the approach you want to be looking before you the corner that you will be turning at.
3.) When you are turning at the corner you want to be bending you want to ride the corner hard. You want to squeeze with the inside leg, and turning with the inside rein. Here are the stages.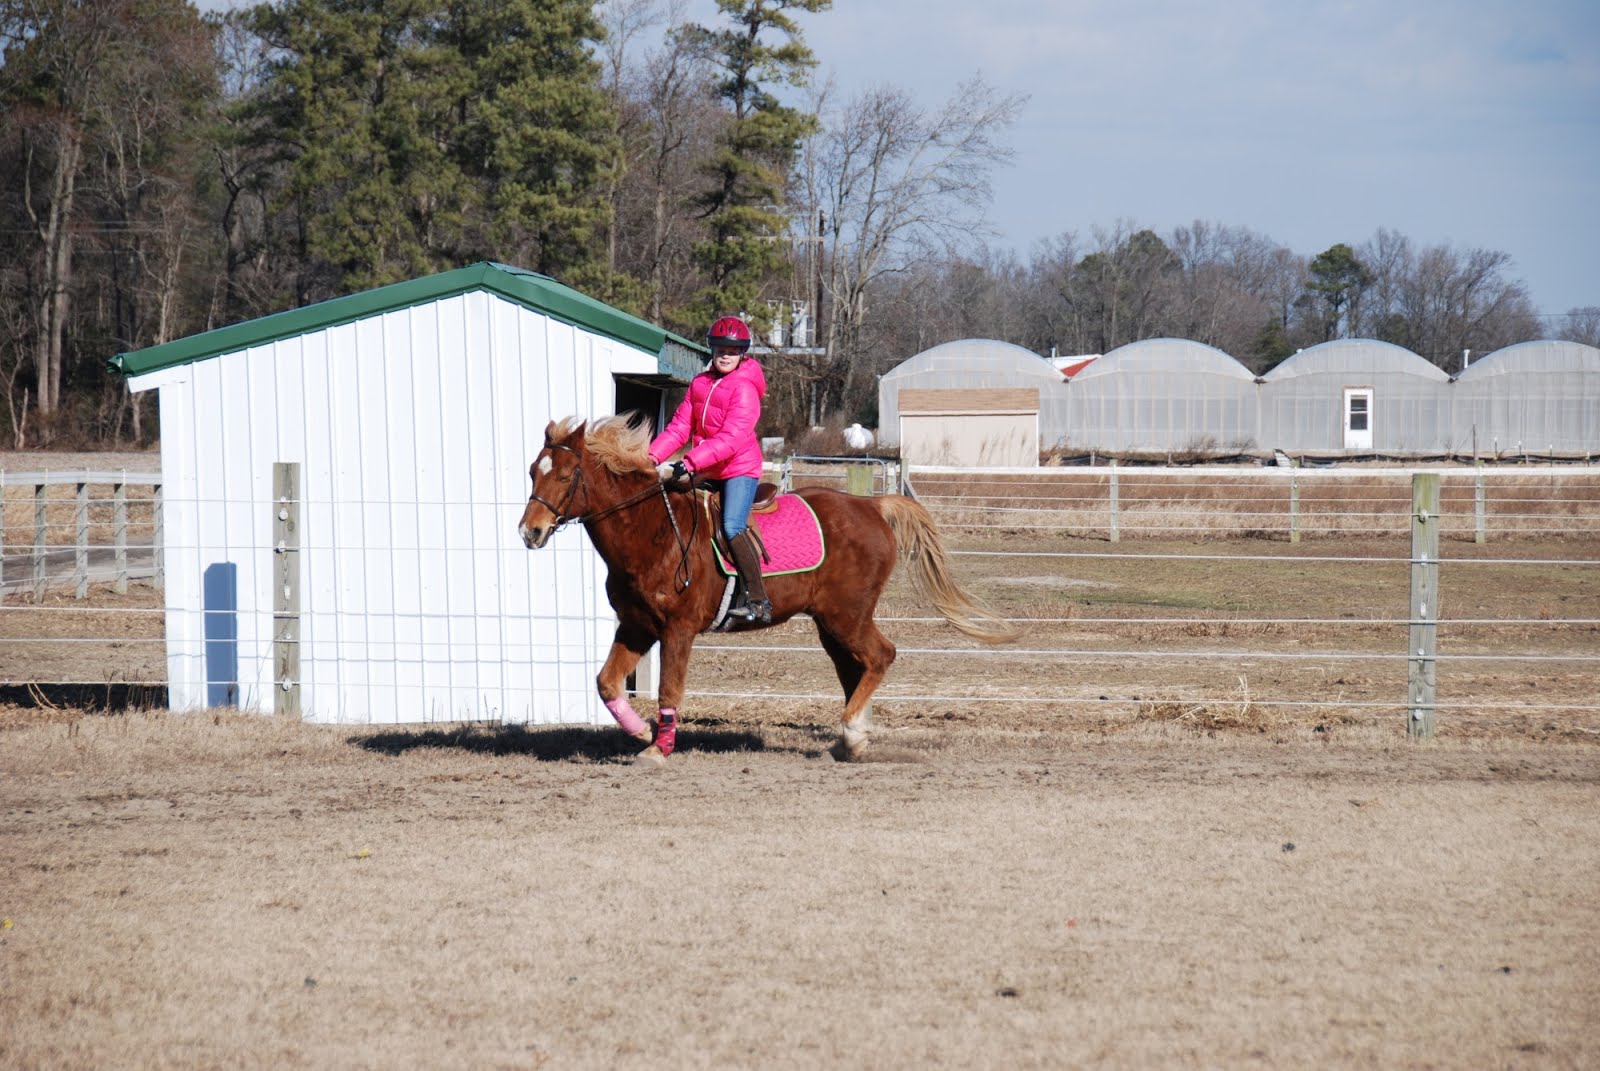


Step 4: At the jump
1.) You should get in two point about 5 trot steps before the jump.As your improve you will need less time before the jump to get inot to point. If the horse or pony that you ride jumps where you get into to point then get into to point at the corner.

2.) When you are at the jump you want to be looking up or this will happen. What happened is I was not looking up I was staring at the jump so I was not asking my horse to go over it.
What happened is I was not looking up I was staring at the jump so I was not asking my horse to go over it.
3.) If you are not looking up your horse might stop are you will go forward most of the time like this. If you are lucky then this will happen but most of the time this happens.IF you do fall you should get back on and try again.
 ( I did not actually fall.)
If you are lucky then this will happen but most of the time this happens.IF you do fall you should get back on and try again.( I did not actually fall.)
4.)If you look up the you have a better chance of staying on and going over the jump, and squeeze then you have a better chance of going over the jump.
Step 5: After the jump
1.) When you land you should stay into point until about 5 trot steps after the jump of before but you should have all 4 feet over the jump and then a step after.
2.)Once you are up you should sit up nice and tall and take a deep breath, and ride like you did not just jump a jump.
3.) If you had fun then try it again. Even if you did not have fun still try it again.
That is how to jump a horse. If you still do not get it ask your trainer. Thank you for reading my project.
Tri Lane Rainbow Loom Bracelet
How to make a Rainbow Loom Tri-Lane 


 Materials- Rubber Bands (lots), a hook, one Loom, and a C or S clip
Step 1: Start with black rubber bands, now go up all the way on each lane. ( make sure that the loom is has the hooks on it facing like an upside down (u).
 Step 2: Flip the loom around. Now put a color that your want starting all the way at the bottom and all the way to the top but leave a row without one.
 Step 3: Flip the loom back around like it was at the beginning. Now take your hook and go under the top rows rubber bands and pick up the black rubber band then put it on the next hook in front of it.
Step 4: Now once you have finished all the rows you will want to knot the very end. Now in the front you will want to put a C or S clip in the front.
Step 5: Take the loom at the end slip the knotted ends onto your fingers and slowly pull it off.
When you are done you will finally have a rubber band bracelet. I will look weird at fist but after you add a clip to it, it will look so cool. But after you do it a few times you will be a pro at it.
Have Fun!!
Have Fun!!
Ultimate Chocolate Cupcakes
How To Make Homemade Ultimate Chocolate cupcakes!!!!!
*DO NOT TRY THIS IF YOU ARE A BEGINNER*
*MAKES 14 A BATCH*
*Be safe when you bake these cupcakes especially while using oven*
Prep time: 1 hour- 1 hour, 30 minutes
STEP #1- Gather the ingredients listed below
Batter Ingredients
 - 1 cup of bread flour
- a cup of hot coffee
- ⅓ cup of Dutch-processed cocoa
-3 ounces of bittersweet chocolate, chopped fine
- 1 cup of granulated sugar
-2 large eggs
-tsp of table salt
-tsp baking soda
-6 tablespoons vegetable oil
-2 tsp white vinegar -1 tsp of vanilla extract
GANACHE FILLING
-2 oz. of bittersweet chocolate, chopped fine
- ¼ cup heavy cream
-1 tablespoon confectioners sugar
ICING INGREDIENTS -½ lb of unsalted butter -1 ½ lb of confectioners sugar -½ cup of cocoa powder -2 tsp of vanilla extract
DECORATING INGREDIENTS
- Piped chocolate shapes (melted chocolate in a piping bag)
 -Sprinkles of your choice (I used pink)
STEP #2 Make your Ganache Filling
 Place chocolate, heavy cream, and confectioners sugar in a medium bowl. Heat in microwave until warm to the touch, about 25 seconds. Whisk until smooth then, put bowl in the fridge and let it stand until chilled, about 30 minutes and no longer!
STEP #3 Preheat your oven to 350 degrees and adjust middle oven rack.
STEP #4 Get your liners and standard muffin pan (you will need the 12 muffin pan and a 6 muffin pan also) Put the liners in.
STEP #5 Prepare Cupcake batter
Put your finely chopped chocolate and cocoa powder into a medium bowl. Pour your hot coffee over mixture; whisk until smooth. Put in the fridge to cool, for about 18-21 minutes (no more, or no less!!!) While the chocolate-coffee mixture is cooling, whisk your flour,sugar,salt, and baking soda together in bowl then, set to the side.
STEP #6 Whisk your oil, eggs, vanilla, and vinegar into the chocolate-coffee mixture until smooth. Add your dry mixture whisk until smooth.
STEP #6 Divide your batter evenly among the pan cups (about ⅔ full) then, place a slightly rounded drop of ganache in the middle of the batter (I just dropped a little into the middle off of a spoon) 
 STEP #7 Put in oven which was preheated at 350 degrees, for 17-19 or until set and firm to the touch. Once your cupcakes are finished baking set on cooling rack, or let cool in pan.
STEP #7 Put in oven which was preheated at 350 degrees, for 17-19 or until set and firm to the touch. Once your cupcakes are finished baking set on cooling rack, or let cool in pan. STEP #8 Make your frosting (you will need an electric hand mixer or an electric mixer of some sort) Put your butter, cocoa powder, confectioners sugar, and your vanilla in a medium bowl , mix together until smooth. If your icing seems dry add a little while mixer is on. (Makes 2 milk, like I did)


STEP #9 Melt 20 oz of chocolate chopped finely, put in microwave safe bowl then, put in microwave for 10-20 seconds. If you burn the chocolate then you will have to melt 20 oz more chocolate. Once you have your chocolate melted put in a piping bag tie the top of the bag. Get a pan and spray it with Pam or cooking spray then, cover it with parchment paper or wax paper. With your bag of melted chocolate pipe shapes of your choice. Let harden for 20-30 minutes sitting out. After the shapes harden put them in the fridge for 5-10 minutes.
STEP #10 Ice your cupcakes with the frosting you made and then, once you have iced them put your chocolate shapes on top and any other decorations you would like to put on them!

STEP #11 EAT! BITE! GONE! Hope you enjoy your homemade Ultimate Chocolate Cupcakes!!!!!!!!!!!!!!!!! (I sure did!!!) :)

Mmmmmmm! Good! Enjoy!
Subscribe to:
Comments (Atom)